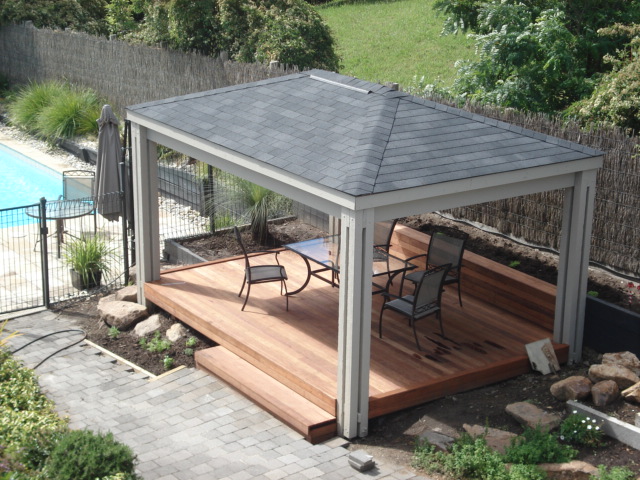
A gazebo kit can help you build your own custom gazebo. A gazebo can be costly and you may not have many options for building materials, sizes, or finishing details. All options can be customized and are cost-effective thanks to the increasing availability of gazebo kit.
It is very simple to assemble a gazebo kit. These are the nine steps to assemble a gazebo kit.
Step 1: Location, location, and location
You can make the construction process easier by choosing a site that is suitable for your gazebo’s size and level. You should also measure the space to accommodate your gazebo’s dimensions. Make sure you have enough space around your gazebo for landscaping such as mowing, weeding and edging.
Step 2: Building a solid foundation
A strong foundation is essential for your gazebo. The rest of your construction will be much easier if you properly secure the floor joists from the gazebo kit. Attach the floor joists to your gazebo’s outer rim using heavy deck screws. Make sure that they are evenly spaced according to the instructions.
Step 3: Lay the floor panels
Pre-assembled floor panels are included in Gazebo kits, which simplifies the entire process. You just need to lay the floor panels in the correct place and attach the screws according to the instructions. Before you do this, make sure to check if the floor panels will require additional support. If so, attach support posts to the floor joints before you lay the flooring panels.
Step 4: Put it up
Pre-assembled wall panels are included in gazebo kits, just like the floor panels. Then, decide where you want your entrances to be and then wall up the rest. This is done by attaching each wall panel to both the floor panel underneath it and to the wall panel directly next to it.
Step 5: Strengthening Walls
The wall panels can seem unstable. These pieces of wood are intended to stabilize walls sections and can be attached to your gazebo kit as per the manufacturer’s instructions.
Step 6: Assemble your Rafters
This is easiest to do on the ground. Attach a rafter to each end of the peak block. Next, secure the piece on top the wall panels. These rafters will bear significant loads, so make sure they are secured, just like the floor joists.
Step 7: Raising the Roof
Installing the roof sheeting is the easiest part of the construction process. All you have to do is lift the sheeting and attach it onto the rafters.
Step 8: Apply the roofing material
The roof is covered with felt, and then the shingles are applied. You can attach the roofing felt by placing it on top and nailing it down. Apply the shingles according to the manufacturer’s instructions.
Step 9: The Final Reveal
Your gazebo kit may have doors, screens, or window sills that are missing depending on the model. Follow the instructions to install these extra features. Then, relax and enjoy your work!